User Details? Check!: Leveraging Jamf Setup Checklist to populate user details in Jamf Pro
Jamf Setup Checklist is a great tool for getting your users ready to go from the moment they're logged in, however sometimes organisations need to populate Jamf Pro inventory fields to ensure device configuration is complete. This post covers an example of how to do just that.
What is Jamf Setup Checklist?
If you’re using Jamf and haven’t heard of it, Jamf Setup Checklist is a new tool from Jamf, currently in Public Beta.
Definitely go check it out and have a play if you haven’t done so already.
What does it do?
The docs for Setup Checklist are pretty comprehensive regarding its capabilities and what it is designed to do, but what’s important for the detail of this post is that Setup Checklist activates upon user login, runs within the user session and therefore runs in user context.
Initially I forgot this and tried to deliver this outcome via a .sh file delivered to the device via package, but the script would have needed sudo so that approach failed.
This post will cover how to populate the User and Location details within a Jamf Pro Computer record.
The fields available here can be interacted with through the jamf binary using a recon command.
Jamf binary commands
If you run jamf help recon on a system that has the jamf binary installed, you’ll see a number of options available that can be used to populate specific inventory information.
For the purposes of this post, I’ll be using the -department option, but the premise is the same for any option available.
For the experienced amongst you, you’ll know that the majority of commands executed using the jamf binary require root authorisation, so either need to be called from a Jamf Policy, or run with sudo.
This presents a challenge as we cannot run an elevated command directly within Setup Checklist, and so have to get a bit creative with how to accomplish this.
Luckily…Jamf allows us to programmatically action a specific policy without using the binary as long as it’s available to run within Self Service.
References to “Self Service” within this post are agnostic of which version you’re using in your environment. Both Self Service+ and Self Service (classic) will work provided the relevant URL scheme is used.
Screenshots have been taken from Self Service+ only.
Jamf Pro Components
There’s a few things required to make this work. Jamf Setup Checklist is a prerequisite of this process, but this post isn’t written to go through how to use Jamf Setup Checklist, so I’ve assumed you’ve already done that.
I’m also using swiftDialog to create the UI, so that’s a requirement too.
What do I need?
- A script to create the dialog window
- A policy to run that script
- This policy must be available to run in Self Service
- Relevant information populated in Jamf Pro
- This example will focus on the use of the
Departmentfield in Jamf Pro. Therefore, there must be Departments that match the details already populated within Jamf Pro. More information can be found on Jamf’s Buildings and Departments page.
- This example will focus on the use of the
The script
For fans of the Irish pop group, prepare to be disappointed.
Whilst your man can’t be moved, it’s possible to re-run this script to update information in Jamf Pro if users do move around your organisation should you want to do this.
I’ve created a script in Jamf Pro called Set Department 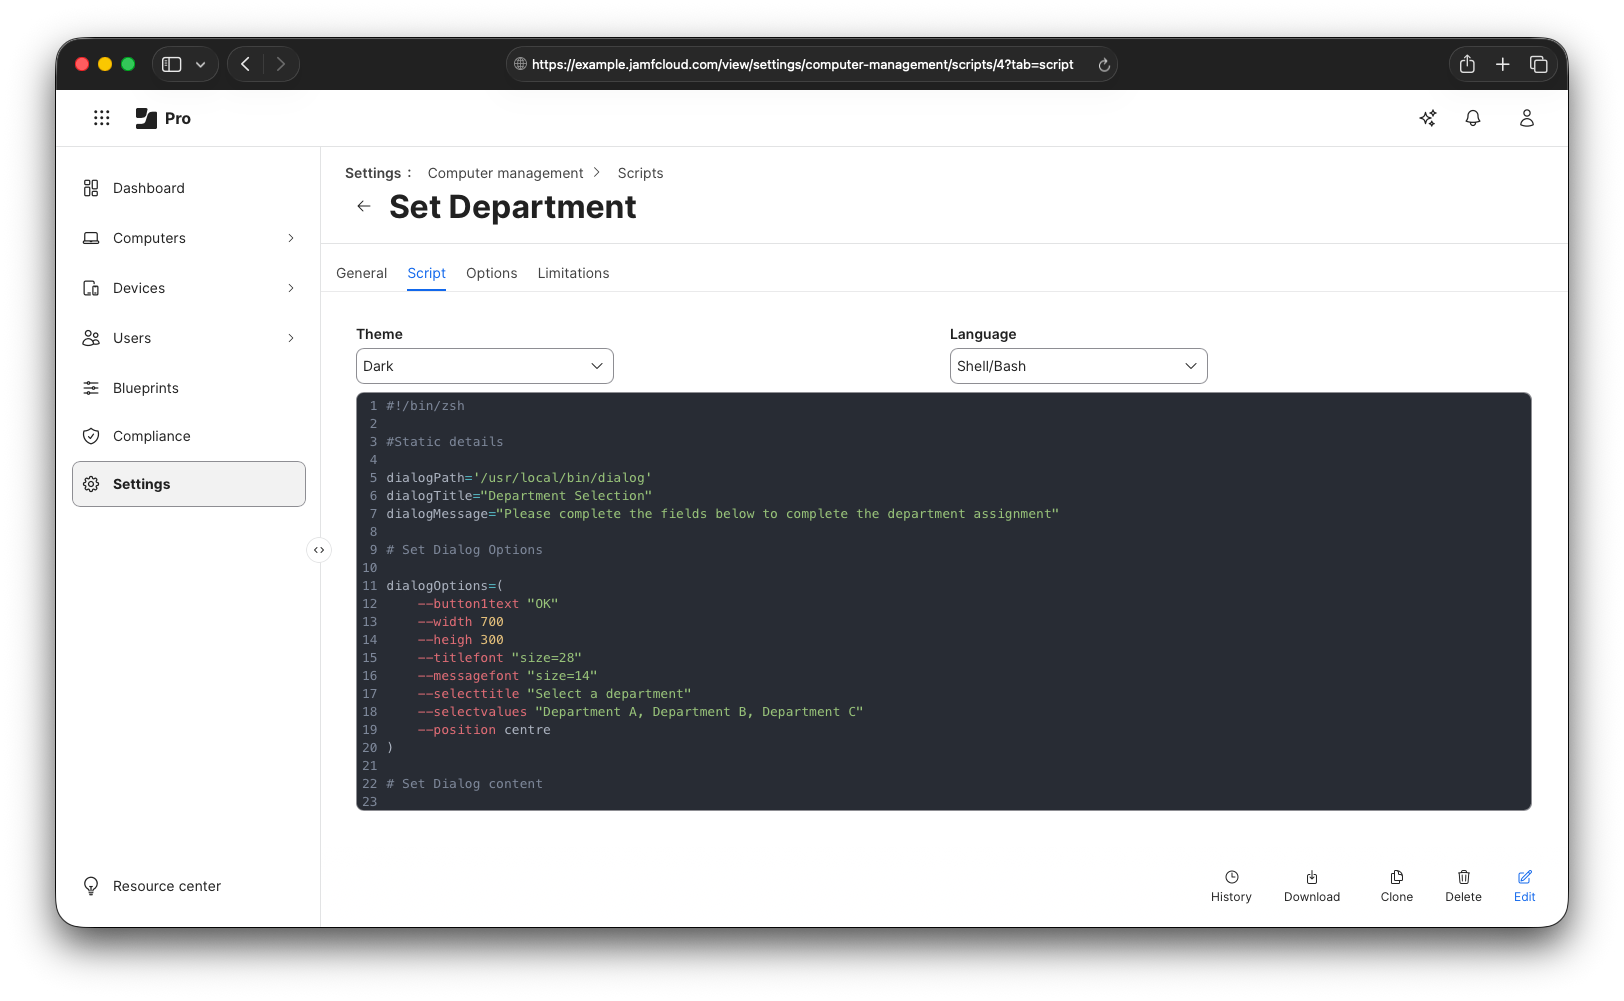
This script is ‘quick and dirty’ to show the possibilities here. swiftDialog has plenty of customisation options for you to play around with to suit your organisation’s needs.
Here are full contents to give you an idea of the structure:
1
2
3
4
5
6
7
8
9
10
11
12
13
14
15
16
17
18
19
20
21
22
23
24
25
26
27
28
29
30
31
32
33
34
35
36
37
38
39
40
41
42
43
#!/bin/zsh

#Static details
dialogPath='/usr/local/bin/dialog'
dialogTitle="Department Selection"
dialogMessage="Please complete the fields below to complete the department assignment"

# Set Dialog Options
dialogOptions=(
    --button1text "OK"
    --width 700
    --height 300
    --titlefont "size=28"
    --messagefont "size=14"
    --selecttitle "Select a department"
    --selectvalues "Department A, Department B, Department C"
    --position centre
)

# Set Dialog content
dialogContent=(
    --title "$dialogTitle"
    --message "$dialogMessage"
)

# Call the dialog, and capture the output in a variable
dialogOutput=$("$dialogPath" "${dialogOptions[@]}" "${dialogContent[@]}")

# Revert Jamf Setup Checklist window position
setupchecklist step script-user-details windowPosition center

# Quit Self Service+
osascript -e 'tell app "Self Service+" to quit'

# Parse the output to capture the department
department=$(echo $dialogOutput | grep "SelectedOption" | awk -F " : " '{gsub(/"/,"",$NF); print $NF}' )

# Update the department field in Jamf Pro with a recon command. Also echo it so that it's captured in the Jamf Pro Policy Logs
jamf recon -department "$department"
echo $department

# Update the Jamf Setup Checklist step to completed so it may continue.
setupchecklist status script-user-details canContinue
I wrote the structure of this script referencing a blog post from the mighty BigMac Admin explaining how to avoid using eval when using swiftDialog.
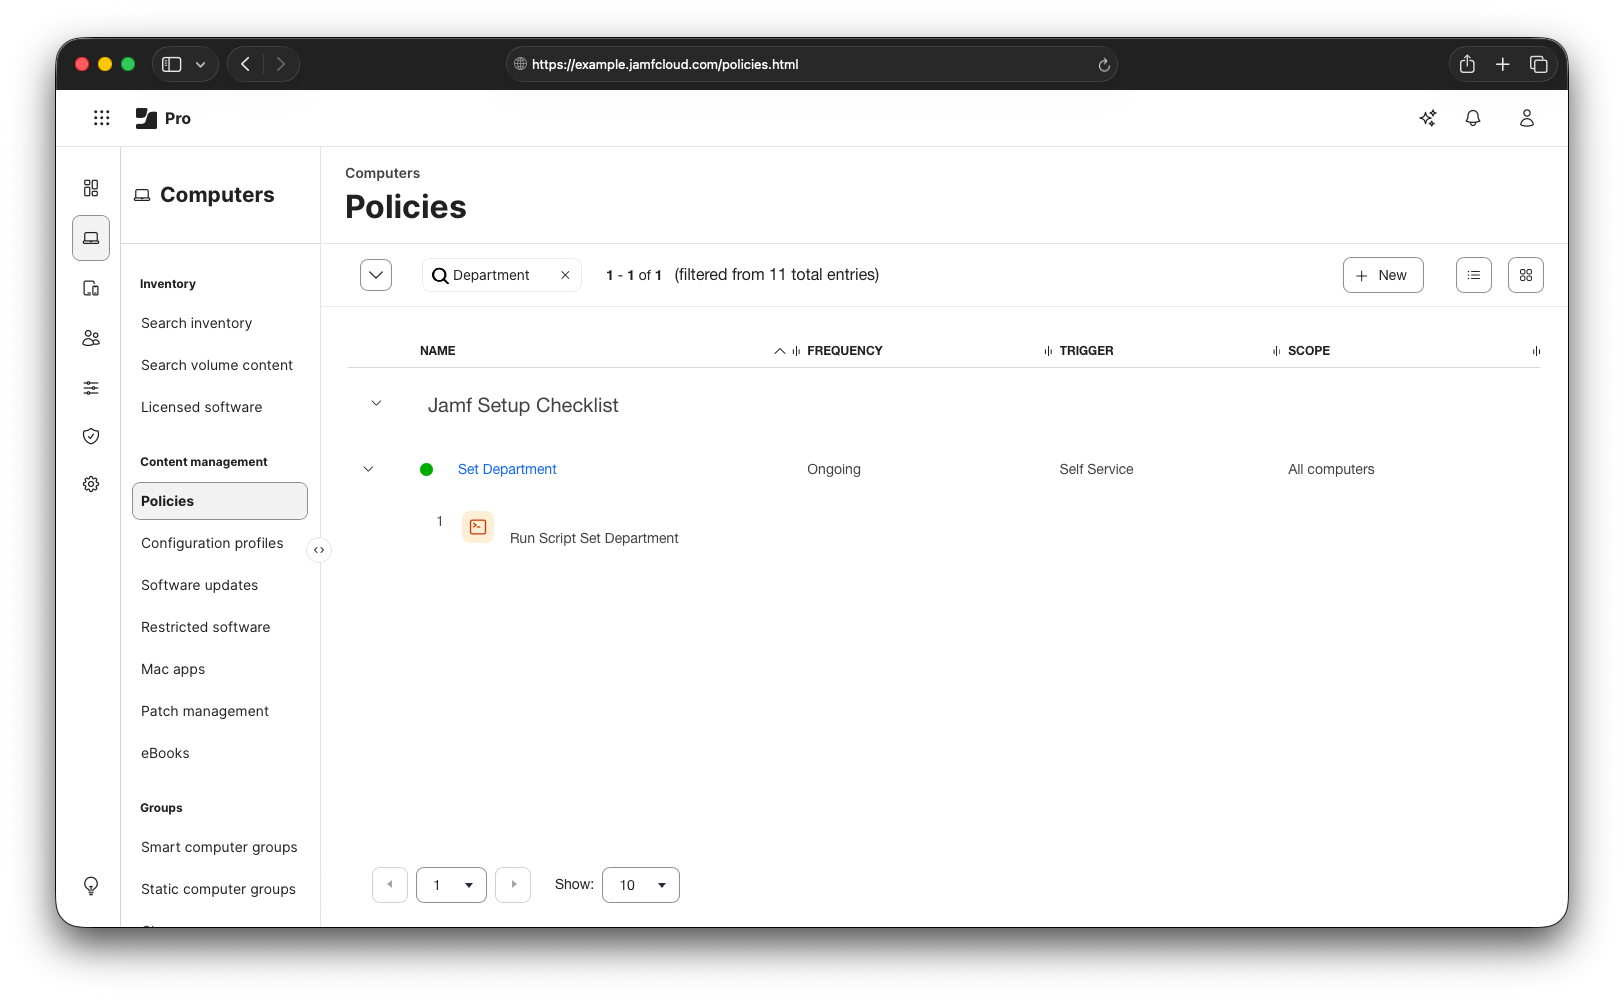
The policy
Fairly straightforward - this policy is set up to initiate execution of the script above. This script is set to be available in Self Service, so I can initiate it using the Self Service URL scheme.
This policy is not configured to update inventory via the Maintenance option. This is because the script it calls already runs a
reconaction, so omitting that option avoids repeated inventory updates.
Navigating to the Self Service tab within the policy, you can grab the Installation URL that is specific to this policy. 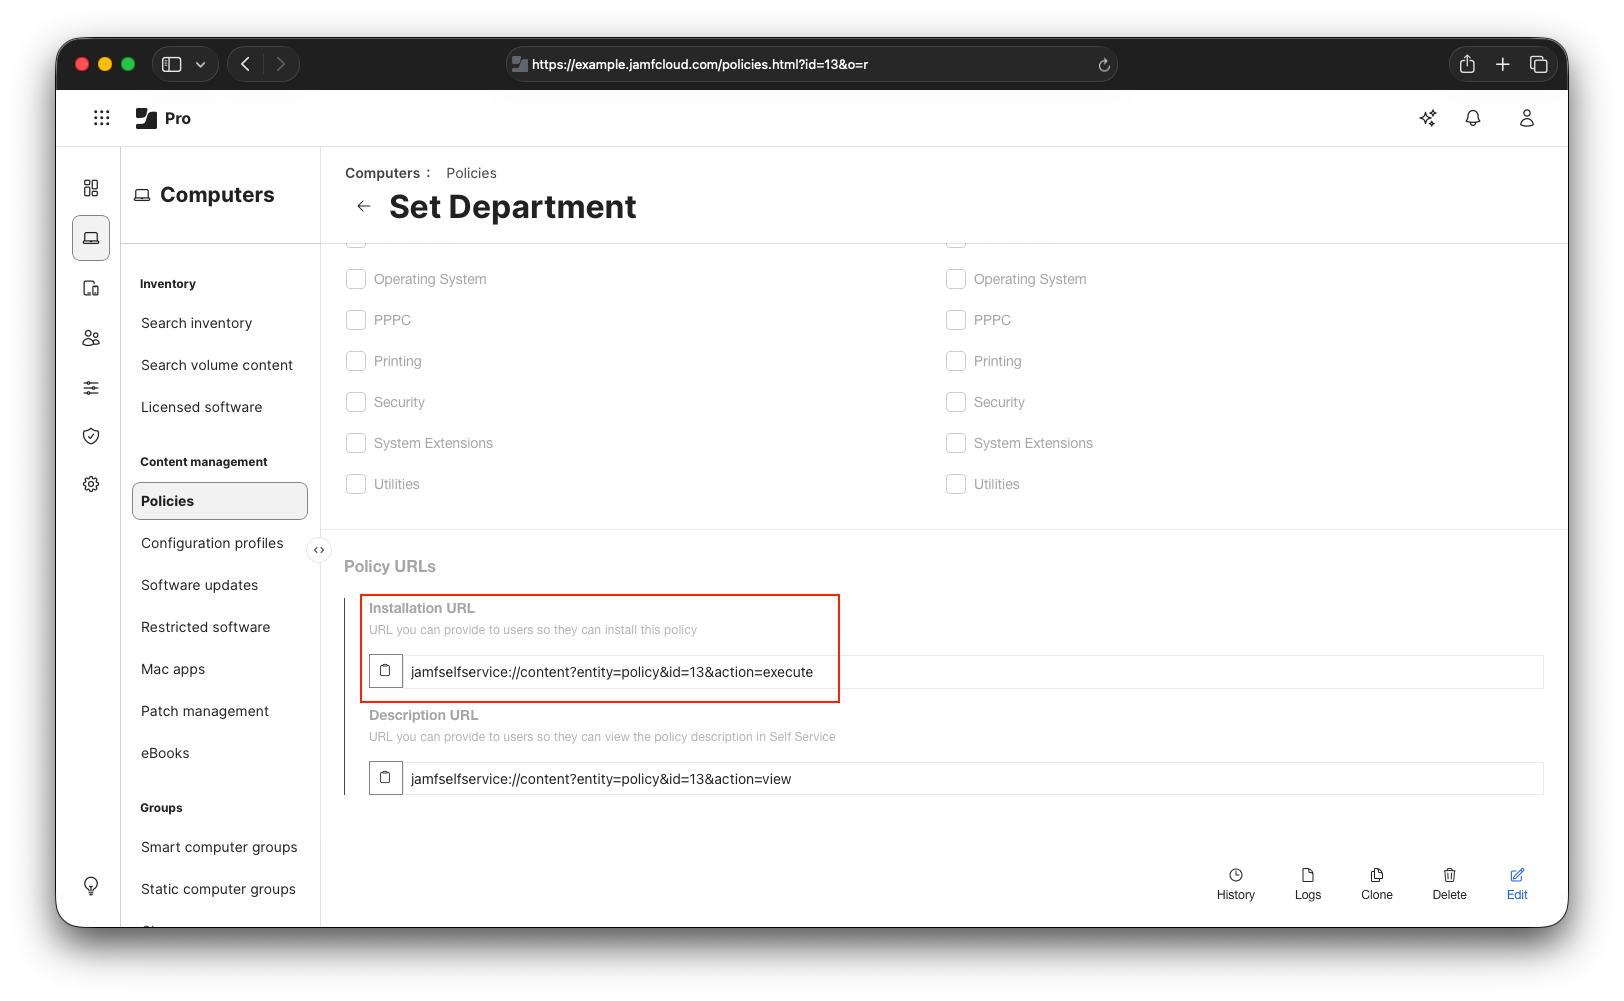
Departments created in Jamf Pro
From the script content, you’ll see that I’m only giving a user the choice to choose from three Departments:
- Department A
- Department B
- Department C
This is purely for demonstrative purposes, but to set these on the computer record as we need to, these departments must exist within Jamf Pro already.
This image shows that I’ve already created them within the Departments settings in Jamf Pro. 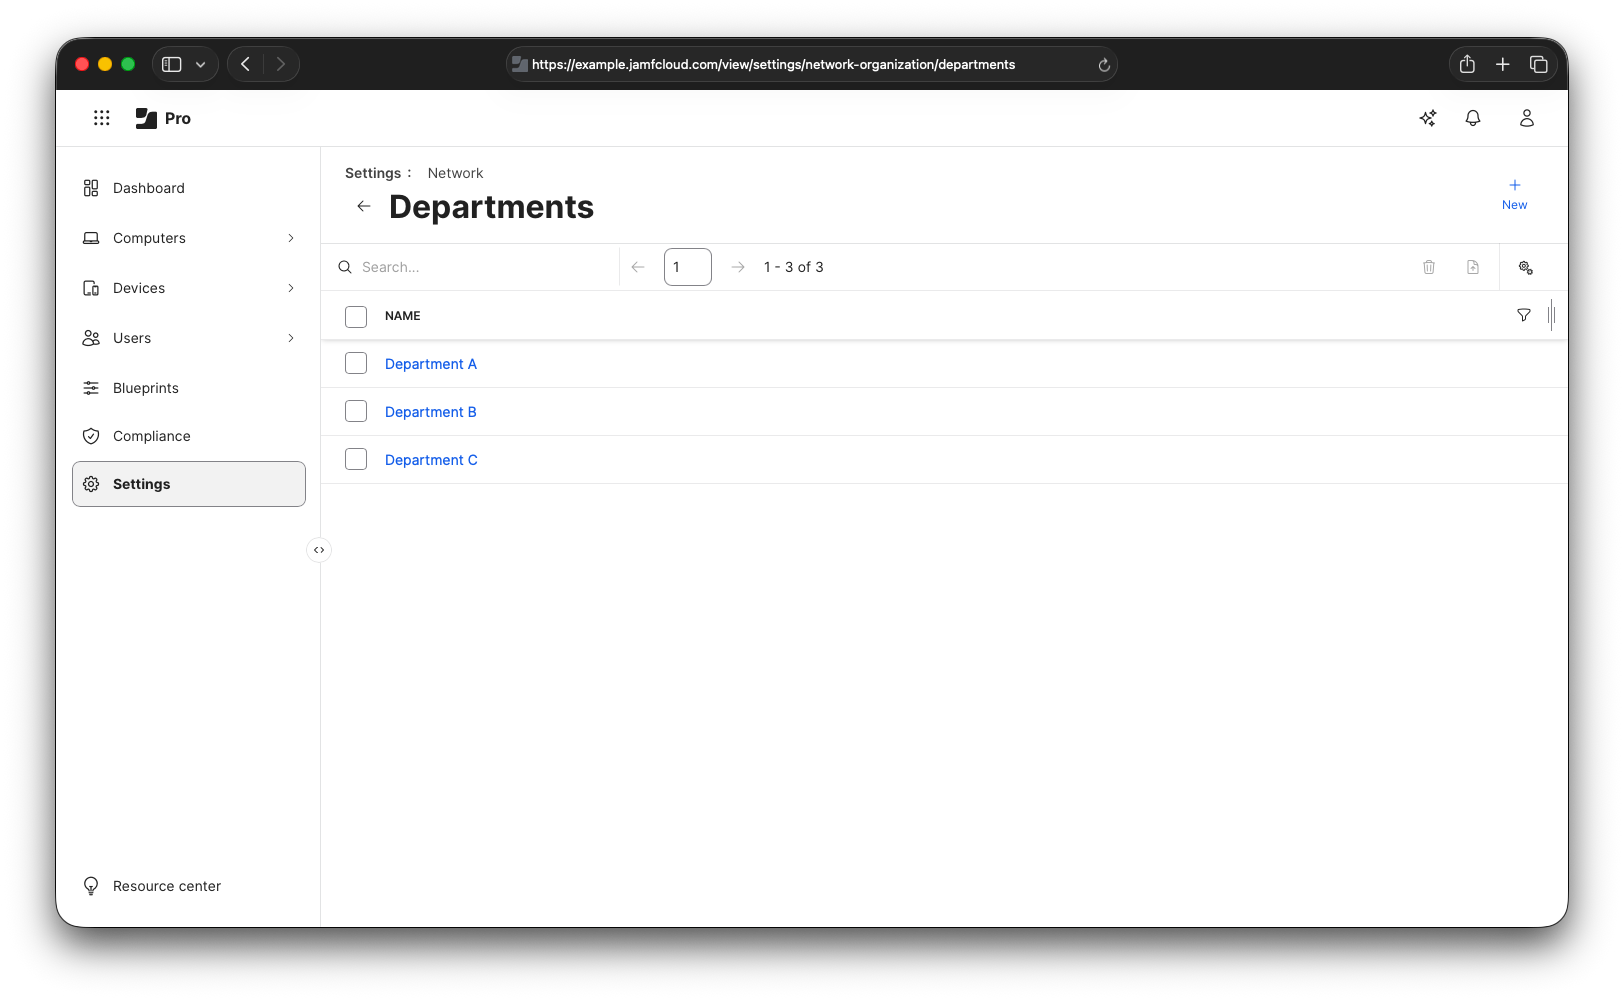
Got all that done, what’s next?
Now we’ve got all of the components ready, we can create the new configuration for Jamf Setup Checklist to call this policy.
This action leverages the script step in Jamf Setup Checklist to call this policy via the Self Service+ URL Scheme.
This is a powerful step that’s capable of doing a multitude of things, but remember that Jamf Setup Checklist is running in the user space, so any script actions it calls also execute in the user context.
This is the content I’ve put into my Jamf Setup Checklist configuration profile to execute this action.
1
2
3
4
5
6
7
8
9
10
11
12
13
14
15
16
17
18
19
20
21
22
23
24
<dict>
<key>kind</key>
<string>script</string>
<key>icon</key>
<string>symbol:person.bubble</string>
<key>identifier</key>
<string>script-user-details</string>
<key>image</key>
<string>symbol:person.fill.questionmark</string>
<key>message</key>
<string>Please complete the following information</string>
<key>title</key>
<string>User details</string>
<key>prepareScript</key>
<string>
if [ ! -e /Applications/Self\ Service+.app ]; then
setupchecklist status script-user-details error
fi
</string>
<key>buttonScript</key>
<string>open -j 'jamfselfservice://content?entity=policy&id=13&action=execute'</string>
<key>windowPosition</key>
<string>right</string>
</dict>
Before I run this, this is what my computer record looks like in Jamf Pro. 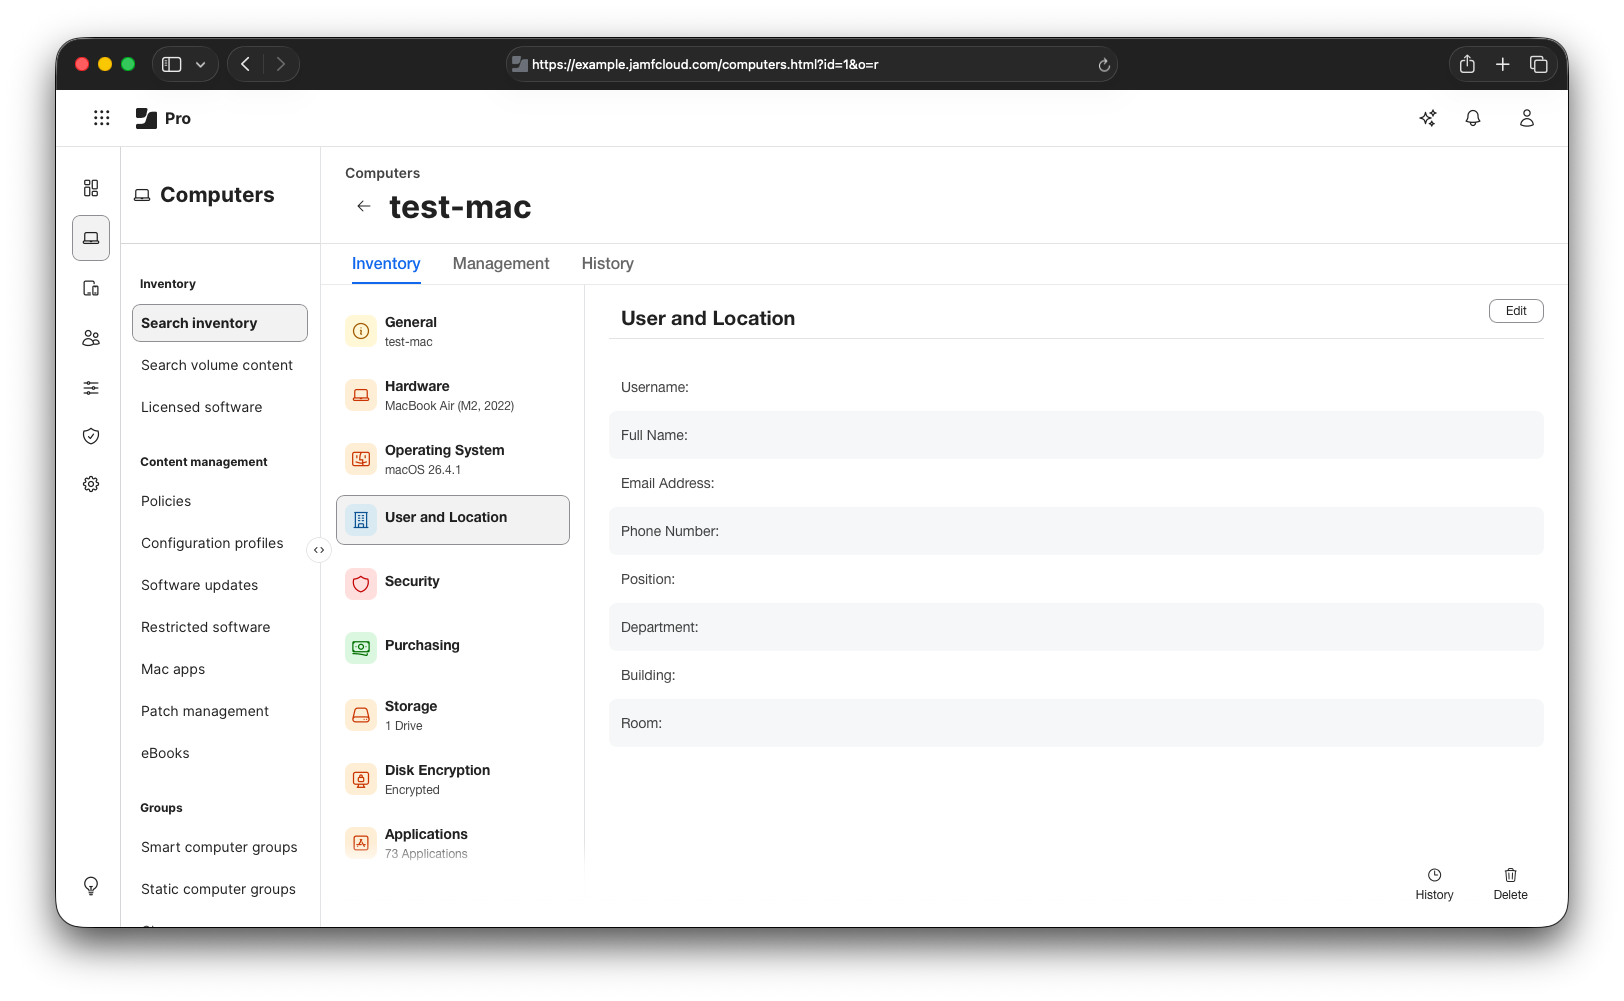
Here’s a clip of what this experience looks like to the user
Setting Department Information from Jamf Setup Checklist
Now that this has been run, we can refresh the computer record and see that the department has successfully populated. 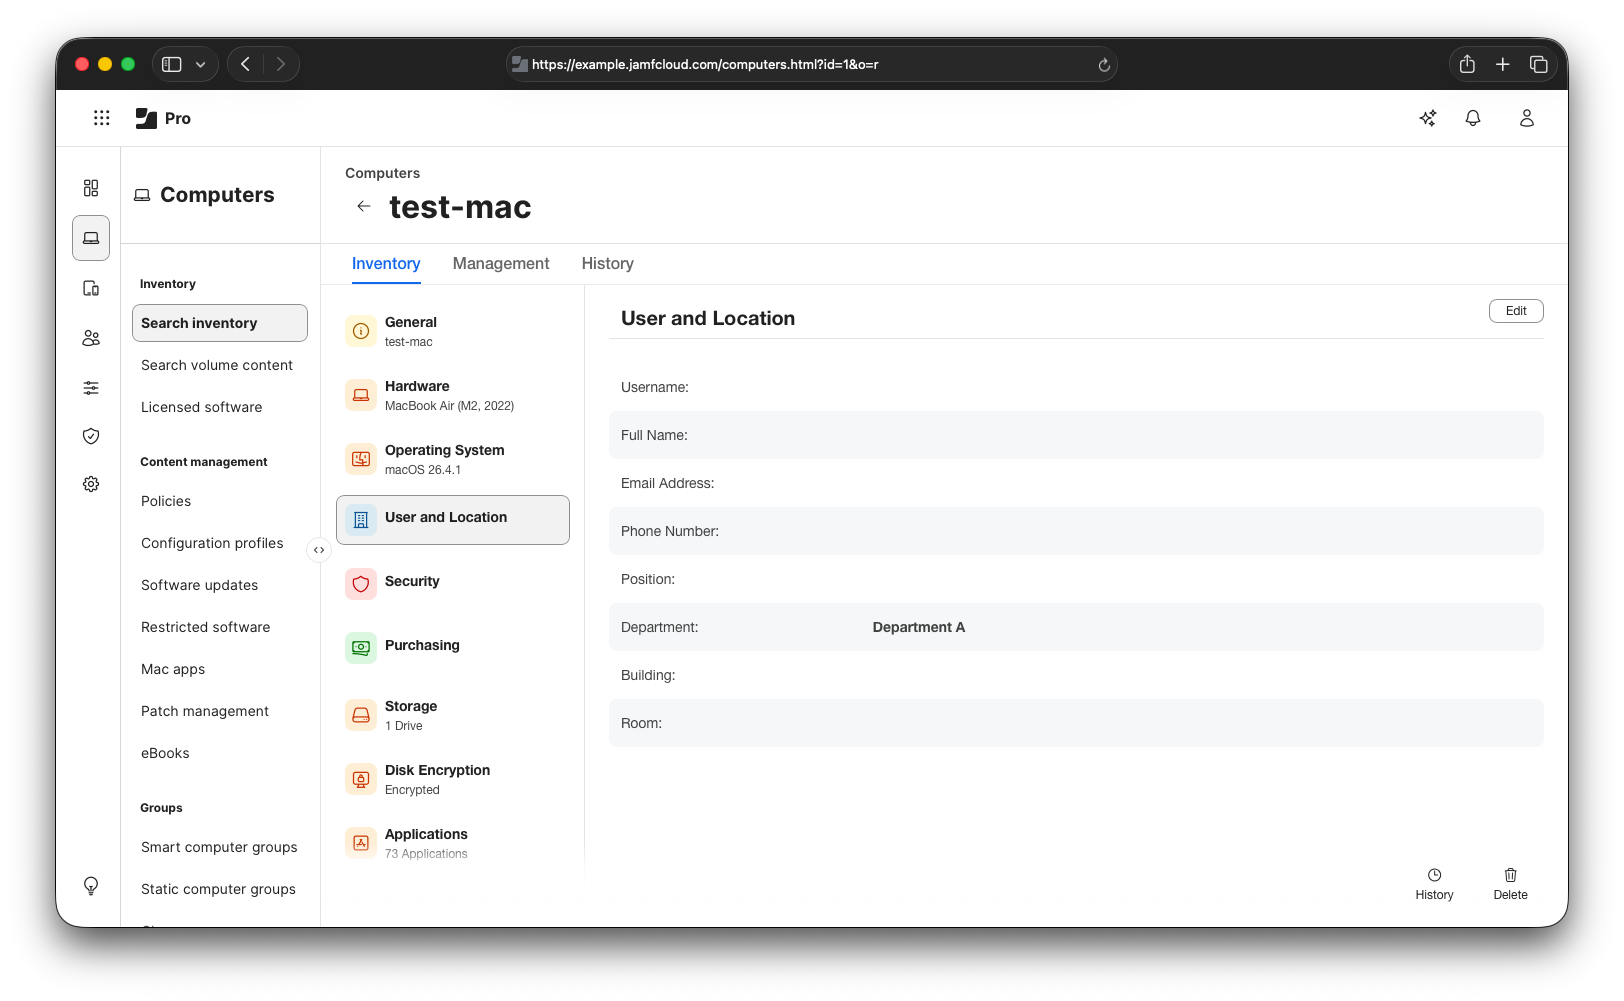
Et voilà!
To help keep this process clean and slick, I’m using the open command with the -j argument to launch the Self Service application hidden. There’s some work do be done to polish this up a bit more, but it’s great starting point.
Thanks to Armin (scriptingosx) for the thought provoking conversation around possibilities here!
There’s an important gotcha with how I delivered this.
My script is leveraging the setupchecklist CLI to update the Jamf Setup Checklist UI that the step has been completed, and to enable the ‘continue’ button. If the script fails for some reason, this continue button won’t enable and the user could get stuck at this step without clear instruction on how to proceed.
That’s all I’ve got for today, so until the next time!